How to Repot Succulents (A Complete Step-by-Step Guide)
I absolutely love shopping online for succulents and gardening supplies. If you aren't already saving money by comparing prices online, give it a try! Here are six of my favorite things that I have purchased online as I build my own succulent oasis:
If your succulents are looking cramped in their current pots, or if they’re starting to grow out of control, it might be time to repot them. Repotting is a relatively simple process, but there are a few things you’ll need to keep in mind to ensure that your succulents thrive in their new home.
I’ve personally come a long way when it comes to caring for my succulents. I’m not proud of it, but I repot my first batch of succulents into plain dirt (*facepalm*). Needless to say, they did not like that! But I quickly realized that my succulents were losing health by the day, so I repotted them again into the perfect soil mix.
Now that I’ve learned the do’s and don’ts, I’m going to share with you a step-by-step guide on how to repot succulents. I’ll also give you tips on the best soil for repotting succulents and what to do after repotting them to make sure they don’t die.
6 Reasons to Repot Succulents
Most people don’t repot succulents just for fun. There’s usually a good reason to do so. Here are some of the reasons to give your succulents a new pot.
1. Your Succulent Looks Cramped in Its Current Pot
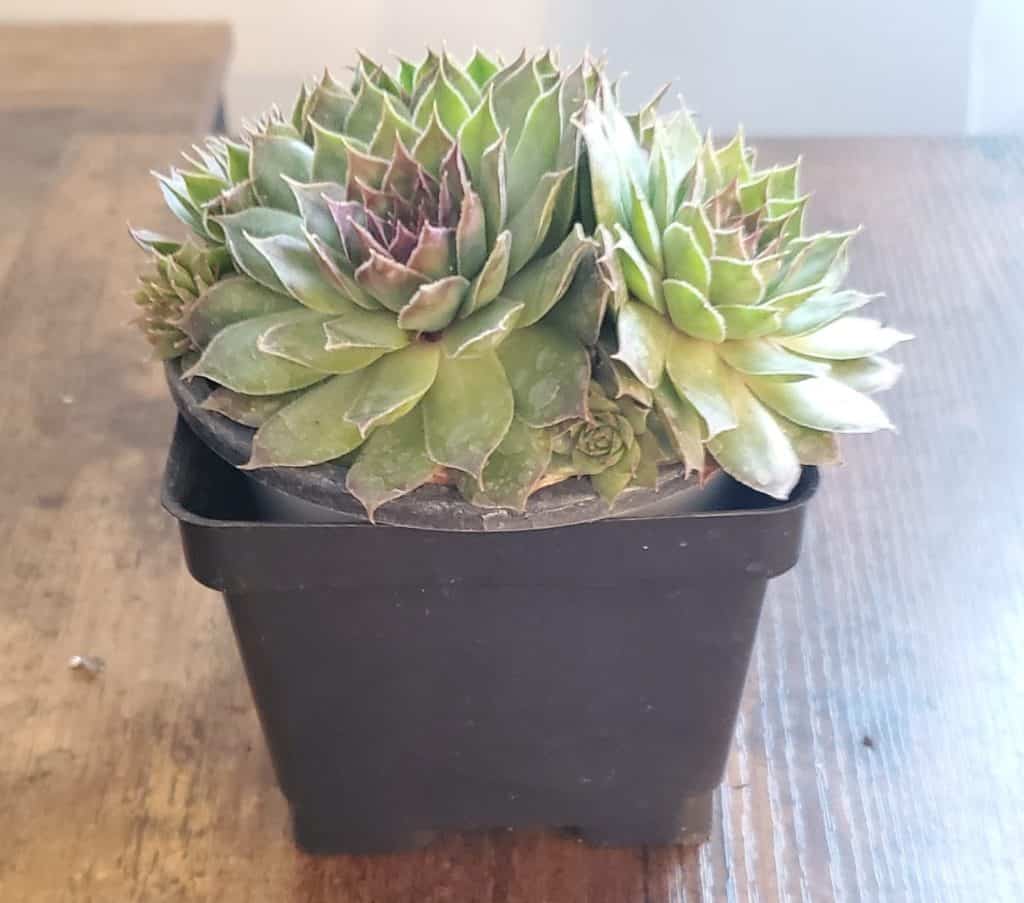
This is probably the most common reason to repot a succulent. If your plant is starting to look like it’s being crowded out by its pot, it’s probably time for a bigger home.
I’ve often run into the issue where my plants become too top-heavy for their current pots. If the pot is not propped up against something stable like a wall or other pots, the succulents will topple right over. The best thing to do is to size up into a heavier pot!
2. Your Succulent Is Rootbound
If your plant’s roots are coming out of the drainage holes in the bottom of the pot, or if they’re tightly intertwined, it’s probably rootbound. When a succulent is rootbound, it can’t absorb enough water or nutrients, which can lead to health problems.
You can also tell that a plant is rootbound by monitoring how quickly the water starts coming out of the pot when you water it. If the water drains out and does not spend at least a few minutes in the pot, the roots are too restricted to drink any more water.
3. You Want to Change the Potting Mix
If you’re not happy with the current potting mix, or if you think your plant would do better in a different type of soil, repotting is a good opportunity to change things up.
I’ve had to repot succulents just to give them better soil. I would rather my plants be happy and healthy than let them stay in soil that retains too much water or doesn’t provide enough nutrients.
Related: How to Use Worm Castings in Potted Succulents
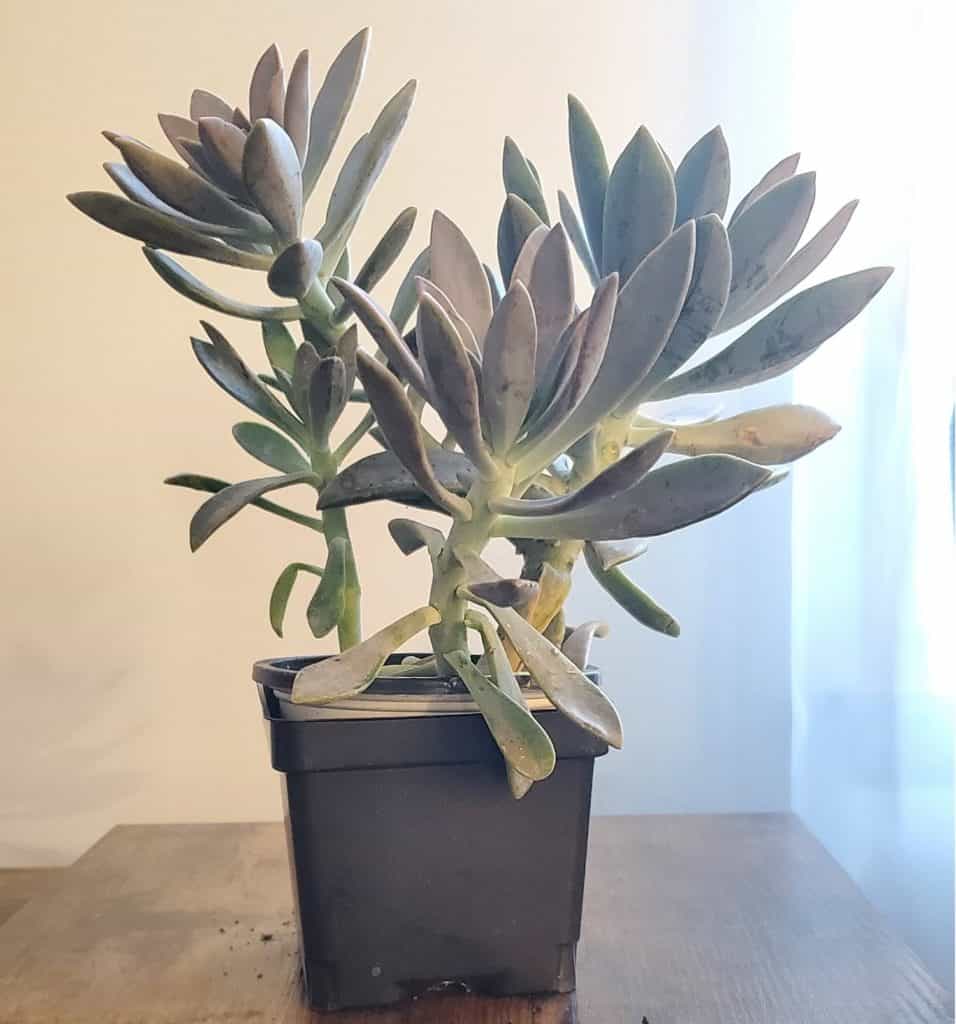
4. Your Succulents are Getting Leggy
If your succulents are starting to stretch out and look leggy, it’s usually because they’re not getting enough sunlight. This often happens during the winter when the days are shorter, but it can also happen if you set the plant in a dark corner of your home.
Leggy growth is when the plant starts to stretch out in search of more light. The stems become thin and weak, and the leaves are far apart from each other. It’s not a great look!

This type of growth is unhealthy for the plant and can make it more susceptible to pests and diseases. When this happens, repotting your plant, and clipping the leggy stems can get your succulent back to good health.
5. Your Succulents are Infested With Mealybugs
Mealybugs are common pests that find their way into the cleanest homes. They are tiny, white, fuzzy bugs that love to feast on succulent plants.
If you see mealybugs on your plant, it’s important to take action immediately. These pests can quickly overwhelm a plant and cause serious damage. They can also spread to your other houseplants in a heartbeat.
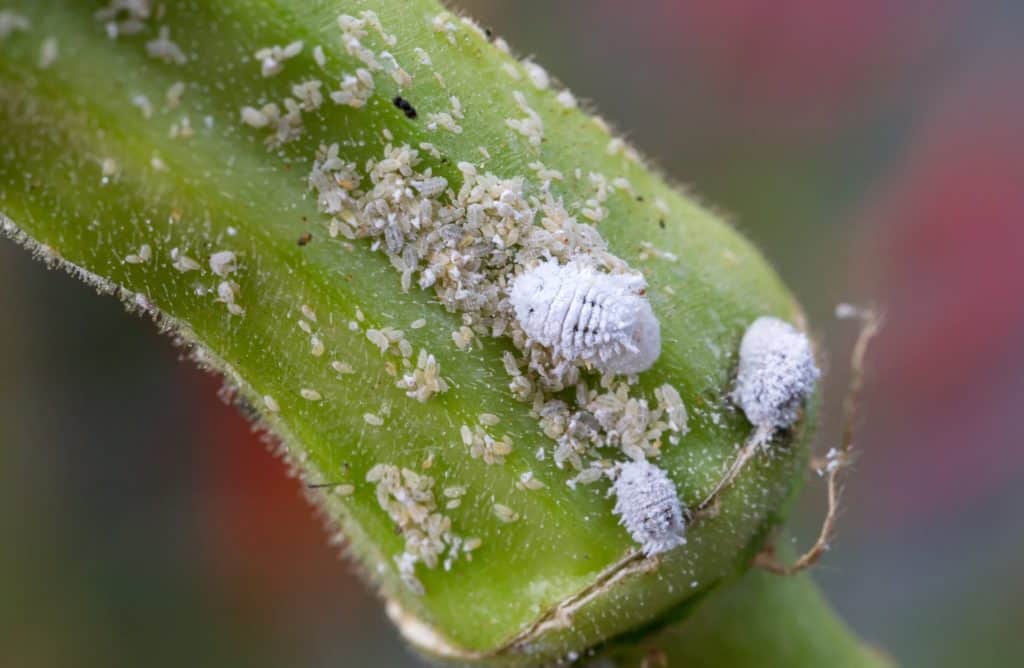
The best way to get rid of mealybugs is to treat your succulents with an organic insecticide or 70% isopropyl rubbing alcohol and then repot them into fresh soil. This will remove any mealybugs and eggs that are hiding in the potting mix.
6. You Want to Divide Your Plant
If you have a succulent that’s growing pups, you can divide it into multiple plants and repot each one separately. Some types of succulents, like aloe, multiply by producing offspring around their bases. Others, like echeveria, multiply by leaf and stem cuttings.
Dividing your succulent is a great opportunity to split and repot your succulents at the same time. Propagation is a popular way for succulent gardeners to grow their collections without purchasing more plants.
When to Repot Succulents (Best Time of Year)
The best time to repot succulents is in the spring before they start to actively grow. This will give them time to adjust to their new environment and roots before the growing season starts.
Succulents can be repotted at any time of year; just be sure to give them extra care and attention if you do it outside of the spring.
Things You’ll Need for Repotting Succulents
Before you start repotting, you’ll need a few supplies.
– A new pot: Choose a pot that’s about 2 inches wider than the current pot. If your plant is rootbound, you might need to go up even more in size.
– Potting mix: I like to make my own soil mix, but you can also buy a cactus and succulent potting mix online or from your local gardening center.
– A spoon or trowel: It’s helpful to have something to scoop the soil with, but you can always use your hands, too.
– A sharp knife: This is for dividing plants if you’re doing that. You’ll want to use a sterilized blade, thin wire, or a piece of string.
4 Steps to Repot Your Succulent
I’ve potted and repotted tons of succulents. I have a growing collection, and it seems that just when I catch up on repotting one batch, I either buy more plants that need to be repotted or more plants outgrow their planter. It’s a neverending process, but now that I know how to repot succulents the right way, I love it.
Step One: Choose the Right Pot
The first step in repotting your succulents is to choose the right pot. There are two things to consider when choosing planters for succulents: the size of the pot and how well it drains.
When it comes to succulent planter ideas, look for something that is just two inches larger than your plant’s current pot. It should be about as deep as it is wide, rather than wide and shallow. Succulents need room to grow roots, and a deep pot will give them the space they need.
A well-draining pot is imperative because succulents cannot sit in water for long periods of time. The water needs to drain from the bottom of the pot so that the soil can dry out. Sitting water can cause damage to your plants such as root rot or droopy branches.
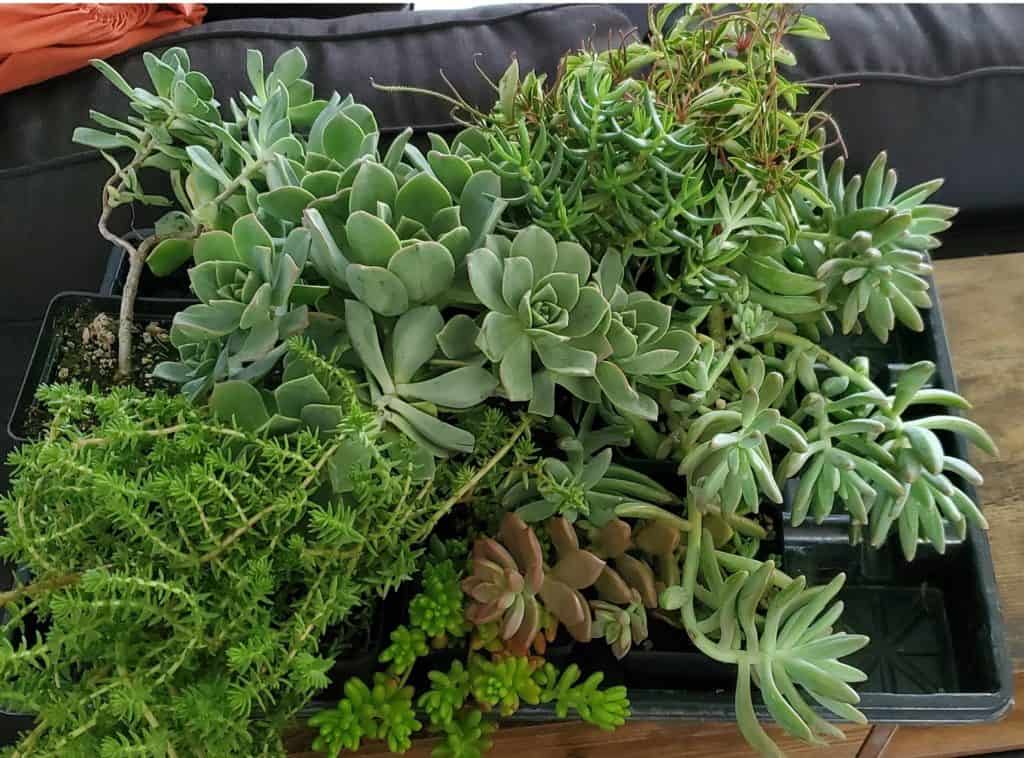
If you are creating a temporary centerpiece with your succulents, a wide, shallow container is usually fine. But great drainage is a must if you want your succulents to survive.
Step Two: Choose the Right Soil
You’ll want to use a well-draining mix; succulents are susceptible to root rot, so their roots must not sit in wet soil. You can sometimes find well-draining potting mix at your local nursery or garden center, but I’ve found that the stock is limited in some areas.
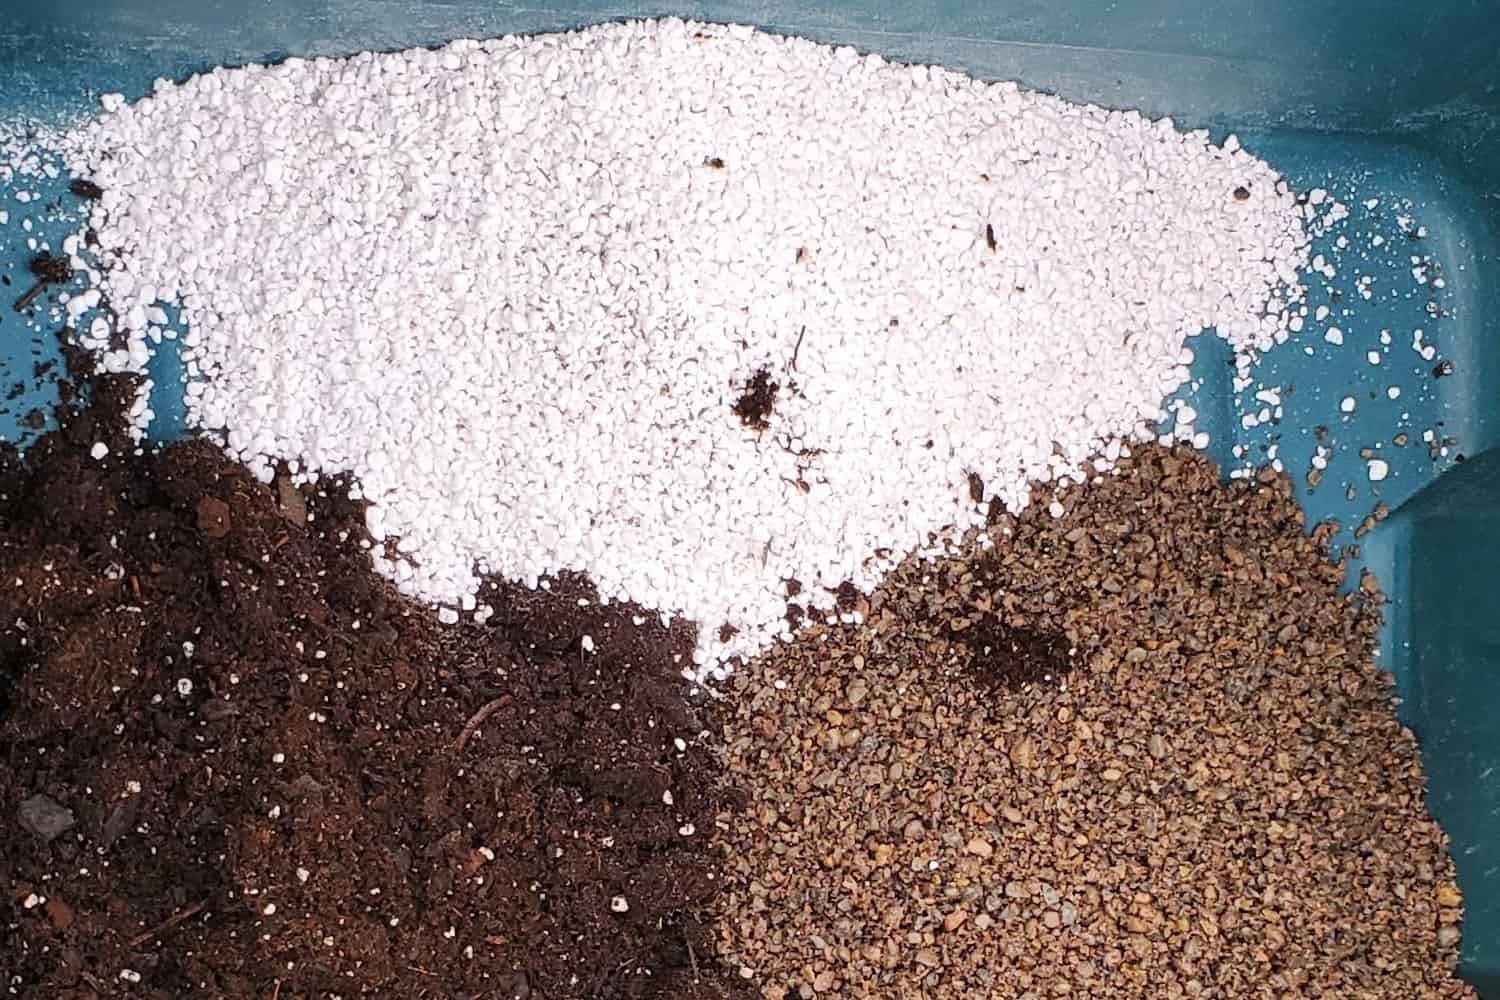
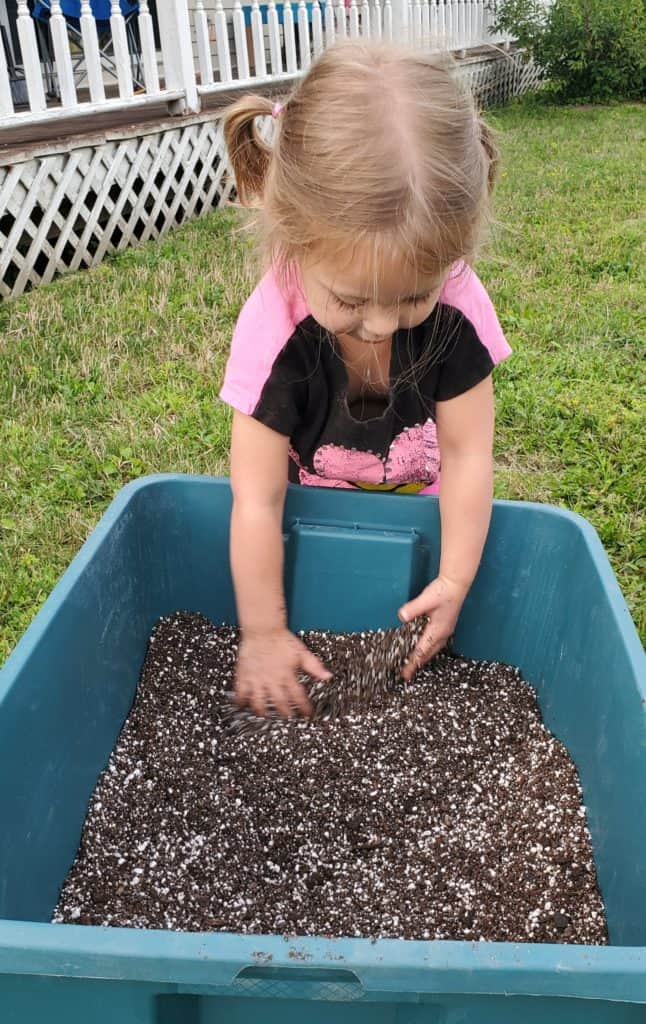
If you can’t find the right option, you can make succulent soil using potting soil, coarse sand, and perlite. Mixing these three ingredients in a one-part perlite, two-part sand, and three-part potting soil combination leads to a great, gritty mixture that your plants will love.
Related: Perlite for Succulents
Step Three: Prepare the New Pot
I’ve found that many pots come without a drainage hole. If this is the case for you, start by adding at least one hole to the bottom of the pot; this will help ensure that water drains out properly and doesn’t pool at the bottom of the pot.
You can use a diamond drill bit for most potting materials. Just make sure to order or pick up the right bit for your drill. I purchased a “universal” drill bit, but somehow it did not fit into my Dewalt drill (ugh!).
Finally, fill the pot about three-quarters full of soil mix. The mix can be just barely moist to the touch, but definitely not sopping wet.
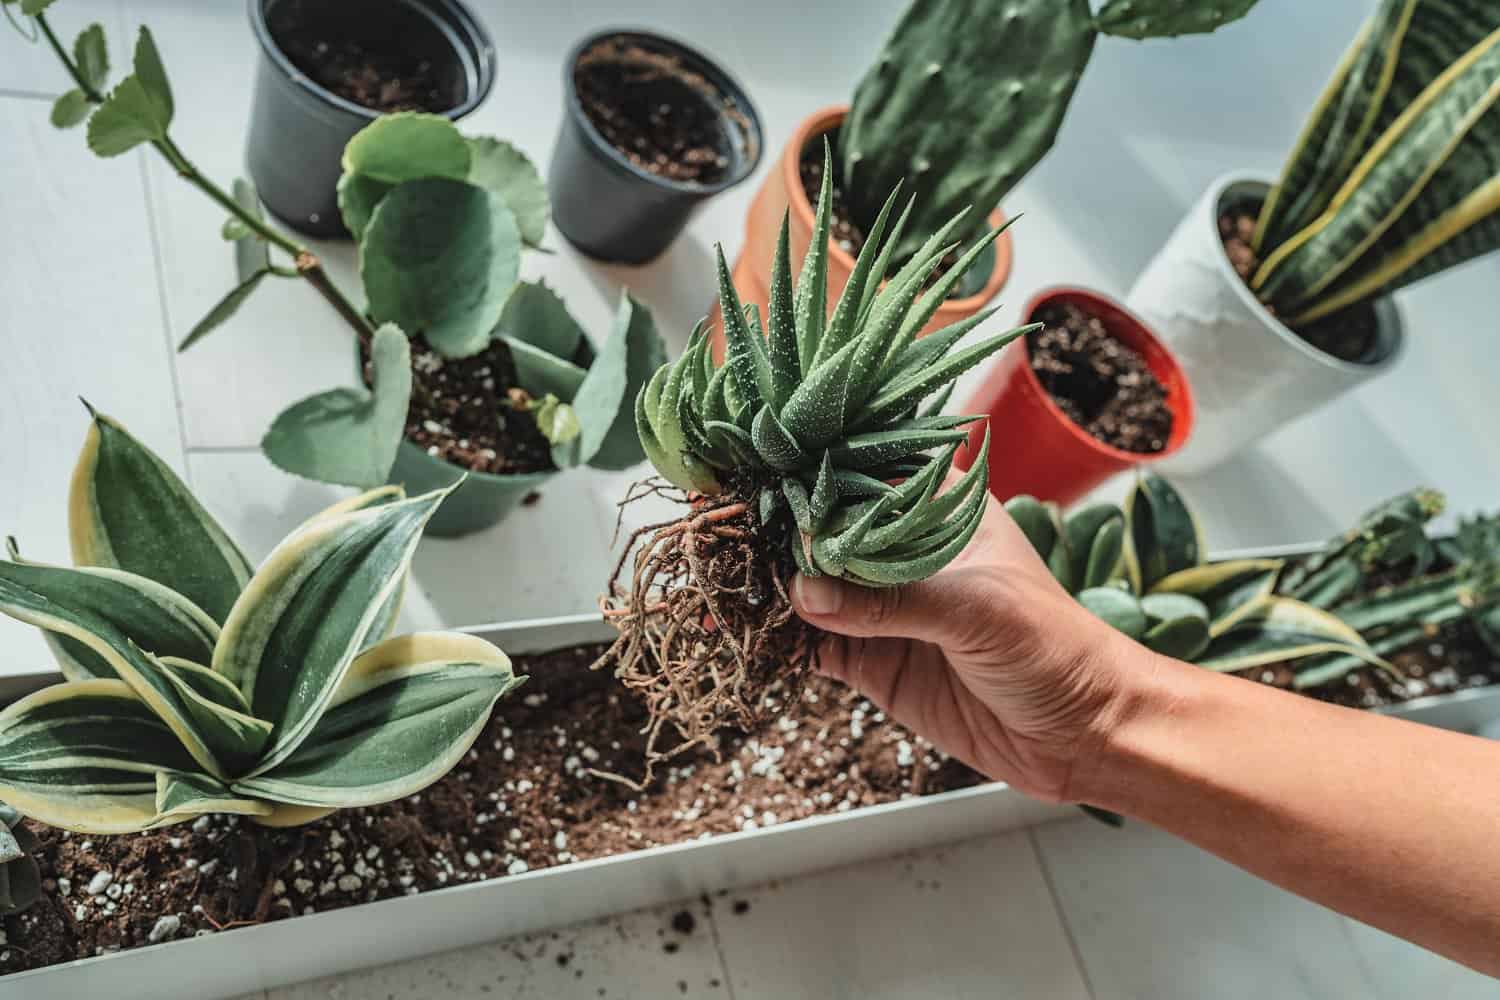
Step Four: Remove the Succulent from its Current Pot
Start by gently tipping the pot on its side and tapping it until the plant loosens. You should be able to easily slide it out. If the plant seems stuck, you can run a knife around the inside edge of the pot to loosen it. Sometimes when a succulent is rootbound, you will need to break the current container in order to avoid hurting its roots.
Once the plant is out of its current pot, take a look at its roots; if they seem overcrowded or tangled, gently loosen them with your fingers before proceeding to step four. I like to remove as much of the old soil as possible to ensure that it doesn’t remain matted in its new pot.
Step Five: Place the Succulent in its New Pot
Once you’ve prepared both the new pot and the succulent itself, it’s time to put the plant in its new home. Start by placing the plant in the center of the pot and filling it in with more soil until the roots are completely covered.
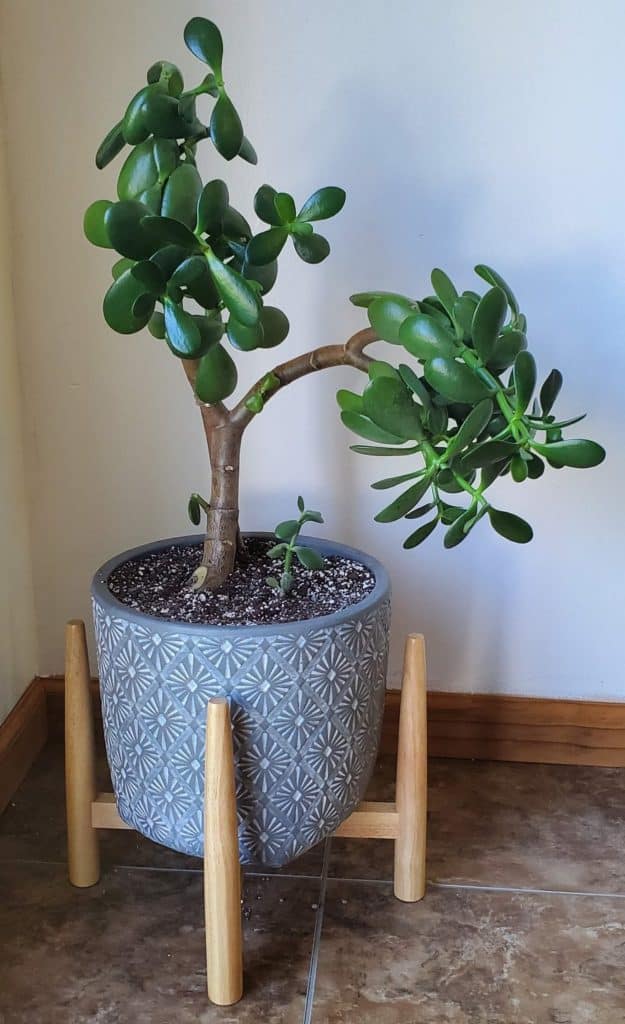
Next, compact the soil lightly with your hands–just enough to keep your plant from falling over. If you are repotting a large, top-heavy plant, you may need to add a temporary support rod.
When I repotted my sister’s 30-year-old jade, the piece that she gave to me to keep wasn’t able to stand on its own. I added a clean, dried stick to the pot to give the jade some support and it’s still standing today!
Step Six: Give Your Repotted Succulent Water
After repotting your succulent, it’s important to water it properly. When watering succulents, always check the soil before adding water; if the soil is still moist from the last watering, wait until it has dried out completely before watering again. If the soil is dry, give the plant a good soak with some water.
When repotting baby succulents, I like to use a spray bottle for watering so that I can control the amount of water and make sure that the roots are getting evenly moistened. As the plant matures, you can start to water it like any normal succulent.
Step Seven: Find Your Plant a New Home
Place your newly potted succulent in a bright spot out of direct sunlight; too much sun can damage newly transplanted plants. Allow the plant to acclimate to its new environment for a few weeks before moving it into a sunnier spot.
Related: How to Fertilize Succulents (A Complete Guide)
Optional: Propagate Fallen Leaves and Cuttings
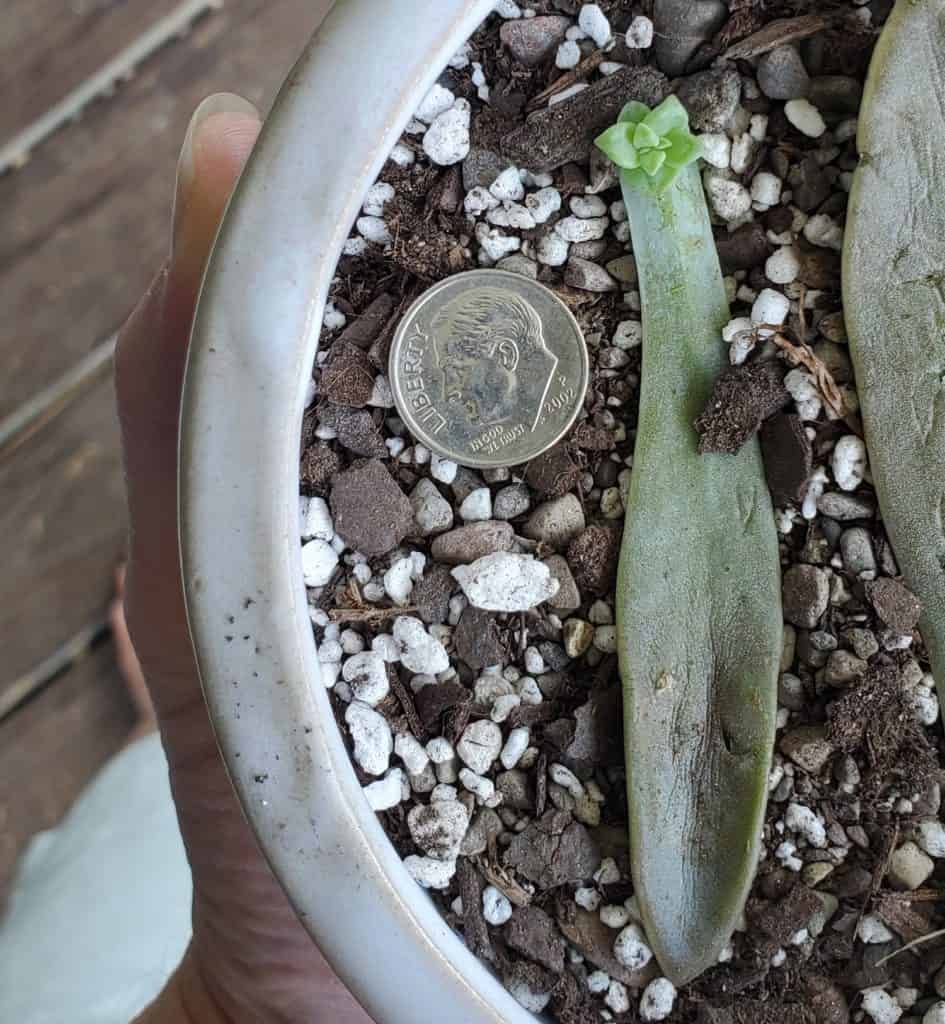
Leaves and cuttings will inevitably fall off while you repot your succulent. These can be propagated to create new plants. All you need to do is place the leaves or cuttings on top of some moistened succulent soil and wait for them to root.
I never like to see a leaf or cutting go to waste when some of my plants start to fall apart. So I usually have a dedicated spot for my babies to grow.
What to Do if Your Succulents Are Dying After Repotting
If your succulents are dying after repotting, it is most likely due to one of the following reasons:
- The roots were damaged during transplanting and are now rotting.
- The plant was not watered properly after transplanting and the roots dried out.
- The plant was placed in an area that is too sunny or too shady.
- The plant was overwatered or underwater.
Some of these issues can be remedied, but it’s important to troubleshoot your plant before it’s too late. The best thing you can do is understand the repotting process before running into these problems. But even the most experienced gardeners kill a plant or two on occasion.
When repotting succulents, it’s important to be gentle with the roots and to make sure that they are not damaged. It’s also important to water the plants properly after transplanting; if the roots dry out, the plant will die. Finally, make sure that your succulent is in a spot that gets the right amount of light; too much or too little sun can damage the plant.
If you are doing things one way, like watering your plant every three days, try a different approach. Succulents like their soil to dry out completely before receiving another drink.
If your plant is sitting in full sun, move it to a spot where it can soak up indirect sunlight instead, or vice versa.
There is not one way to repot a succulent–one plant may love your process while another plant may end up dying. There are too many variables to have 100% success when repotting succulents. So, just do your best and be willing to troubleshoot when necessary.
How Often Should You Repot Succulents?
Succulents should be repotted every one to two years, depending on their size and growth rate. If your succulent is growing rapidly, it will need to be repotted more often; if it’s not growing much, it can be repotted less often.
You can also tell if a plant needs to be repotted if the roots are coming out of the bottom of the pot or if the plant is starting to look crowded.
You can, however, repot your succulents too often. If you’re just getting tired of their current pots, or you enjoy creating new arrangements each week, keep in mind that constantly moving them can destroy their health.
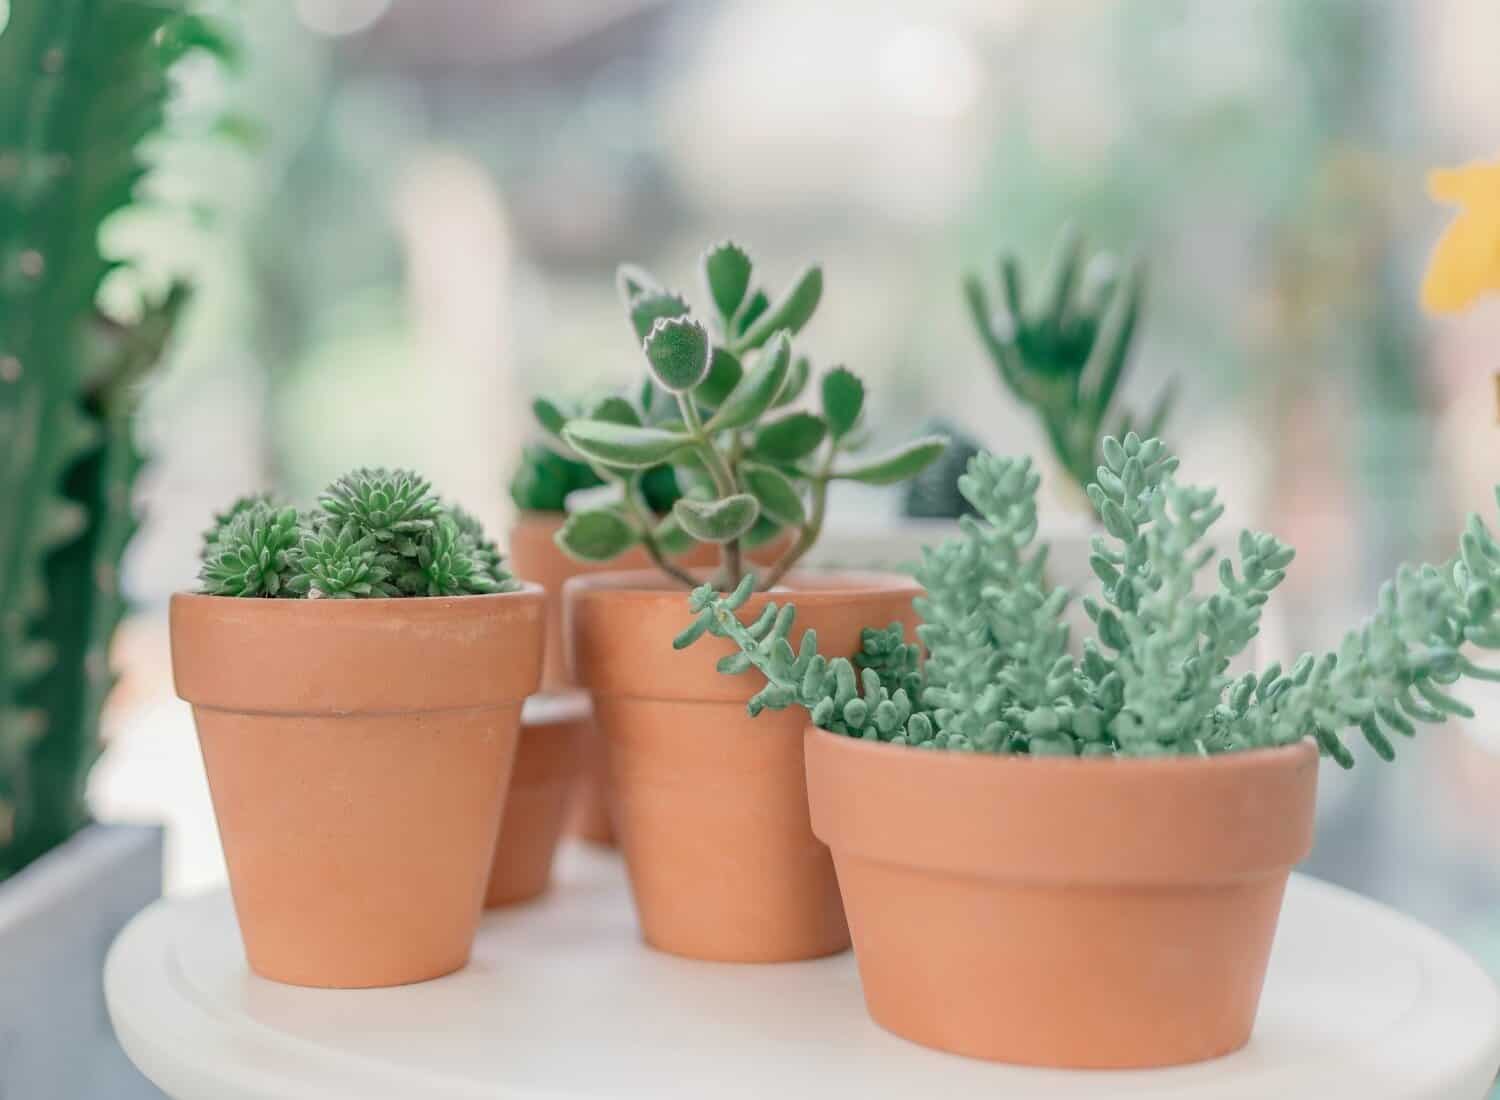
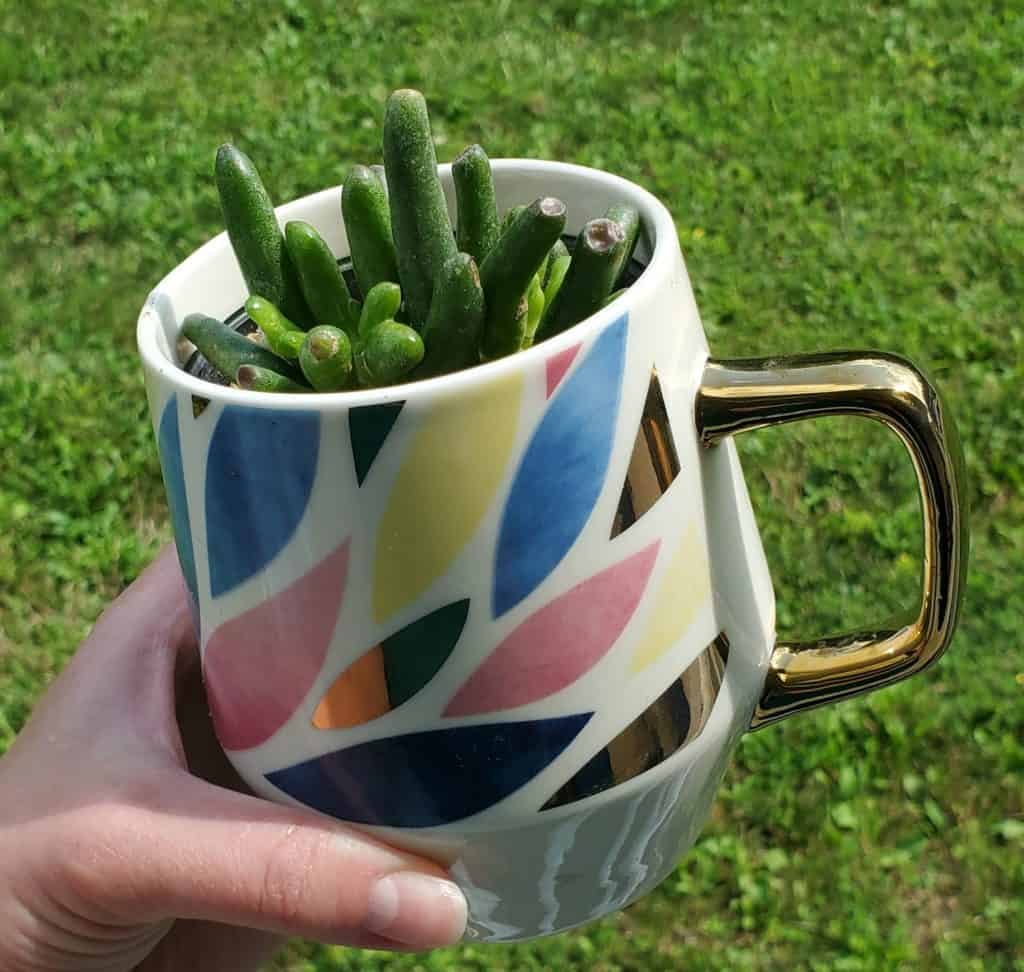
One of my favorite ways to pot small succulents is by using removable, plastic liners with plenty of drainage holes. I can slide these in and out of cute coffee mugs without disturbing their roots!
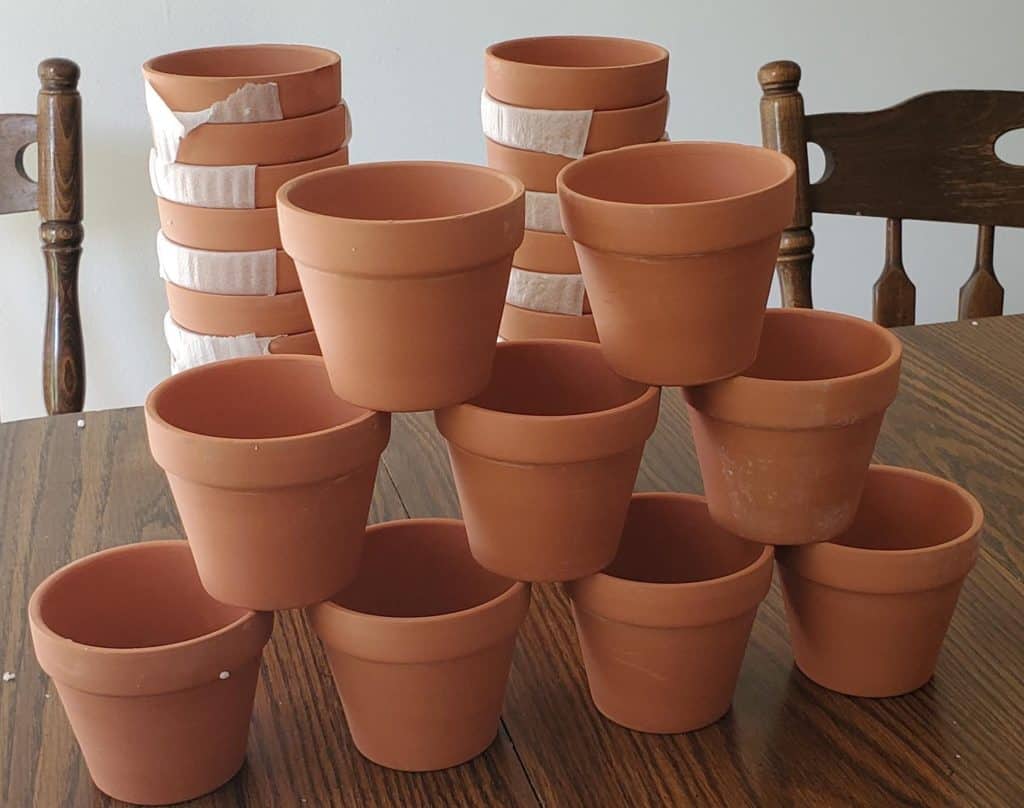
I also love my 4-inch terracotta pots with drainage holes. They are perfect for starter plants!
Don’t Let Your Succulents Get Too Cramped
Succulents are some of the most resilient, forgiving plants I’ve owned. But that doesn’t mean they don’t need attention once in a while! As long as you keep your plants happy (which includes keeping them in the right pots), your succulents should thrive.
Repotting succulents is a simple process that can make a big difference in your plants’ health and vigor. By following these steps such as choosing the right pot and using well-draining soil, you can ensure that your succulents thrive in their new home.